Alerts
Alerts are the most common type of SweetAlert2 dialog. The AlertBuilder provides a fluent, chainable API for building modal alerts with any combination of title, text, icon, buttons, and customization options.
Basic Alert
Every alert starts with the Alert facade. At minimum, set a title and call flash() to push the configuration to the session:
use RealRashid\SweetAlert\Facades\Alert;

Alert::title('Hello World')->flash();
This renders a basic modal with the title and a default "OK" confirm button.
Alert Types (Icons)
SweetAlert2 supports five icon types, each available as a fluent method on the builder. Calling an icon method sets the icon and returns the builder for continued chaining:
// Success
Alert::title('Done!')->success()->flash();

// Error
Alert::title('Oops!')->error()->flash();

// Warning
Alert::title('Careful!')->warning()->flash();

// Info
Alert::title('FYI')->info()->flash();

// Question (also auto-shows cancel button)
Alert::title('Are you sure?')->question()->flash();
With Title and Text Shorthand
Each icon method accepts optional $title and $text parameters for conciseness:
Alert::success('Created!', 'The post has been created.')->flash();
Alert::error('Failed!', 'Something went wrong.')->flash();
Alert::warning('Warning!', 'You are about to do something risky.')->flash();
Alert::info('Note', 'Please read the instructions.')->flash();
Alert::question('Confirm?', 'Do you want to proceed?')->flash();
This is equivalent to calling title(), text(), and the icon method separately — it's just a shorthand for the most common pattern.
Using the AlertType Enum
For type safety and IDE autocompletion, you can use the AlertType enum:
use RealRashid\SweetAlert\Enums\AlertType;

Alert::title('Done!')
    ->icon(AlertType::Success)
    ->flash();
The enum values are: Success, Error, Warning, Info, Question.
What They Look Like
Each icon type renders through SweetAlert2 like this:
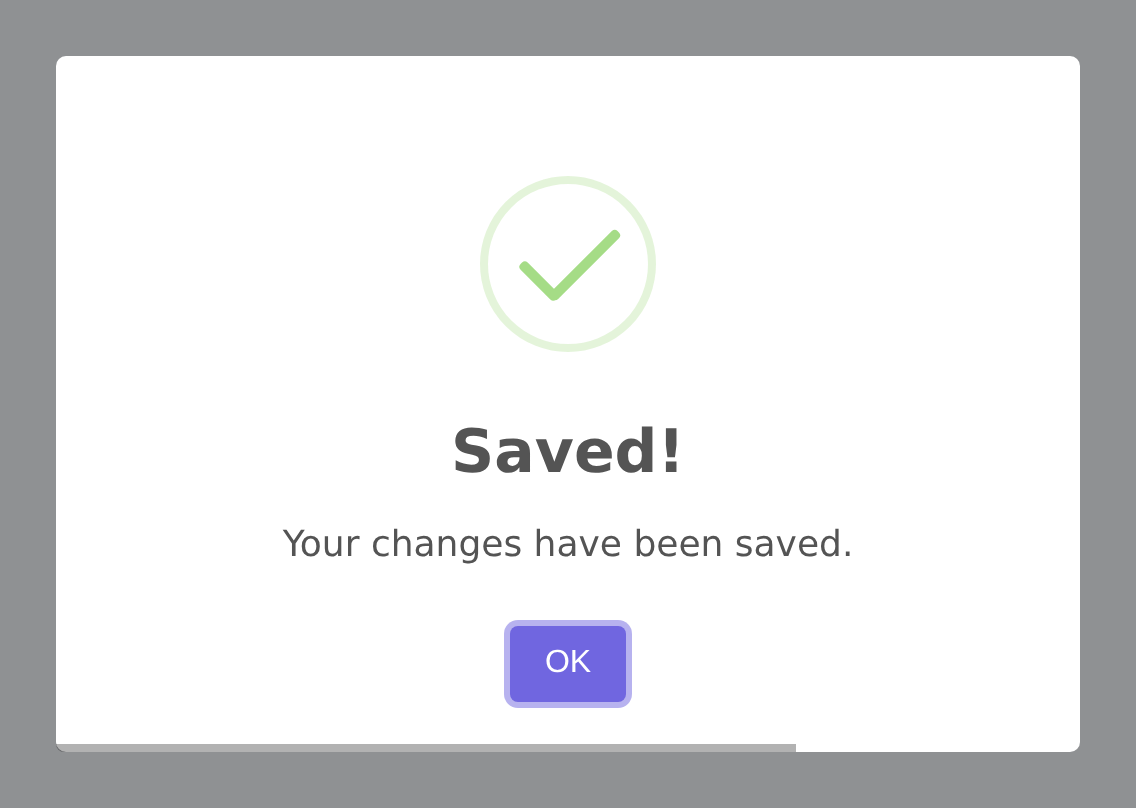 | 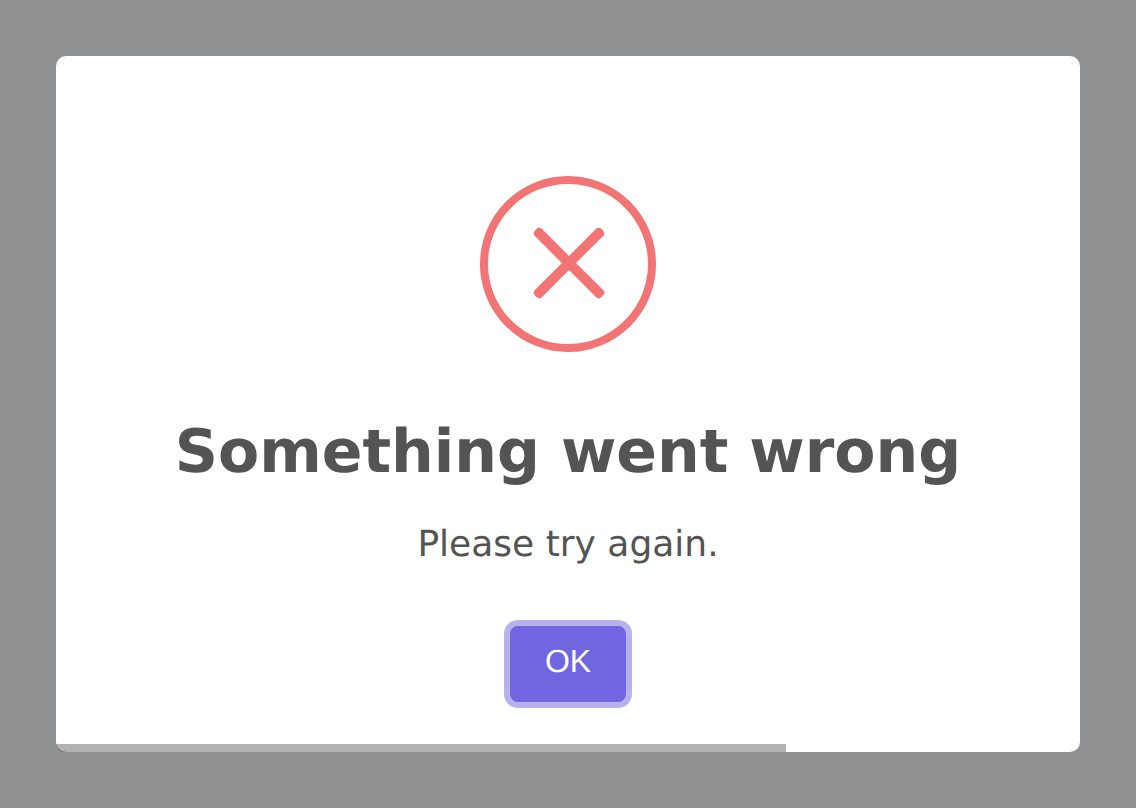 |
Alert::success('Saved!', 'Your changes have been saved.') | Alert::error('Something went wrong', 'Please try again.') |
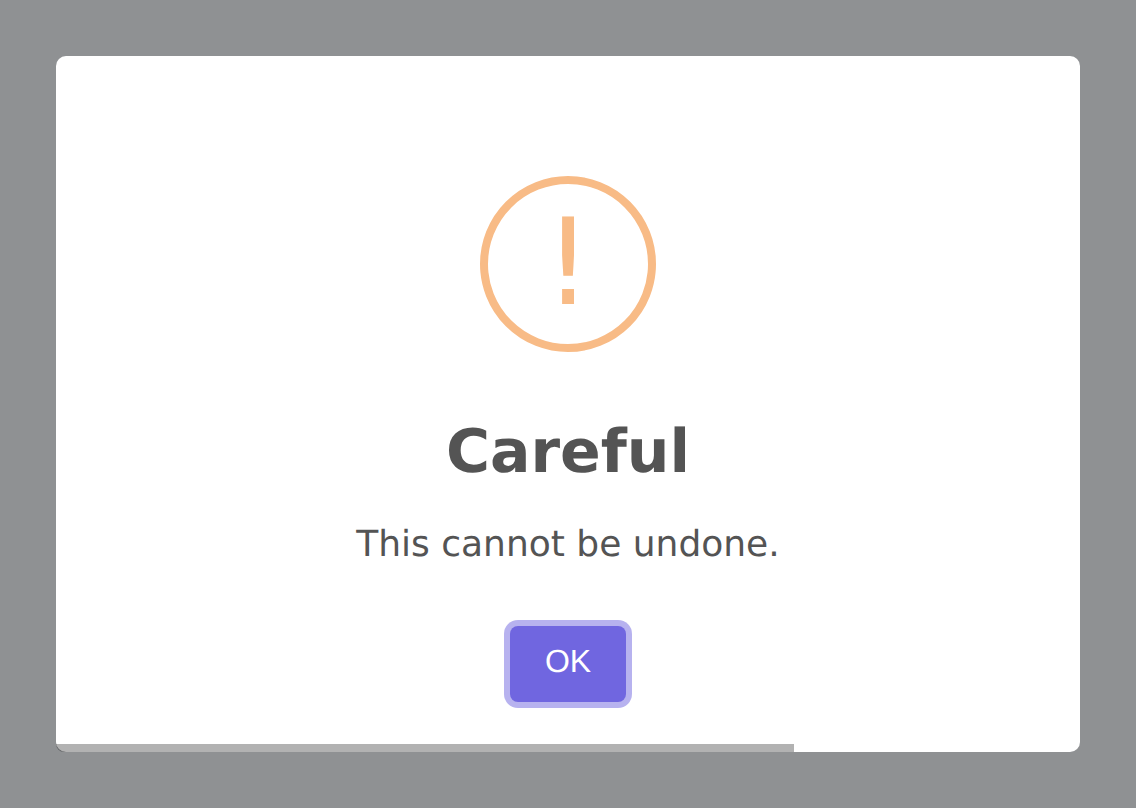 | 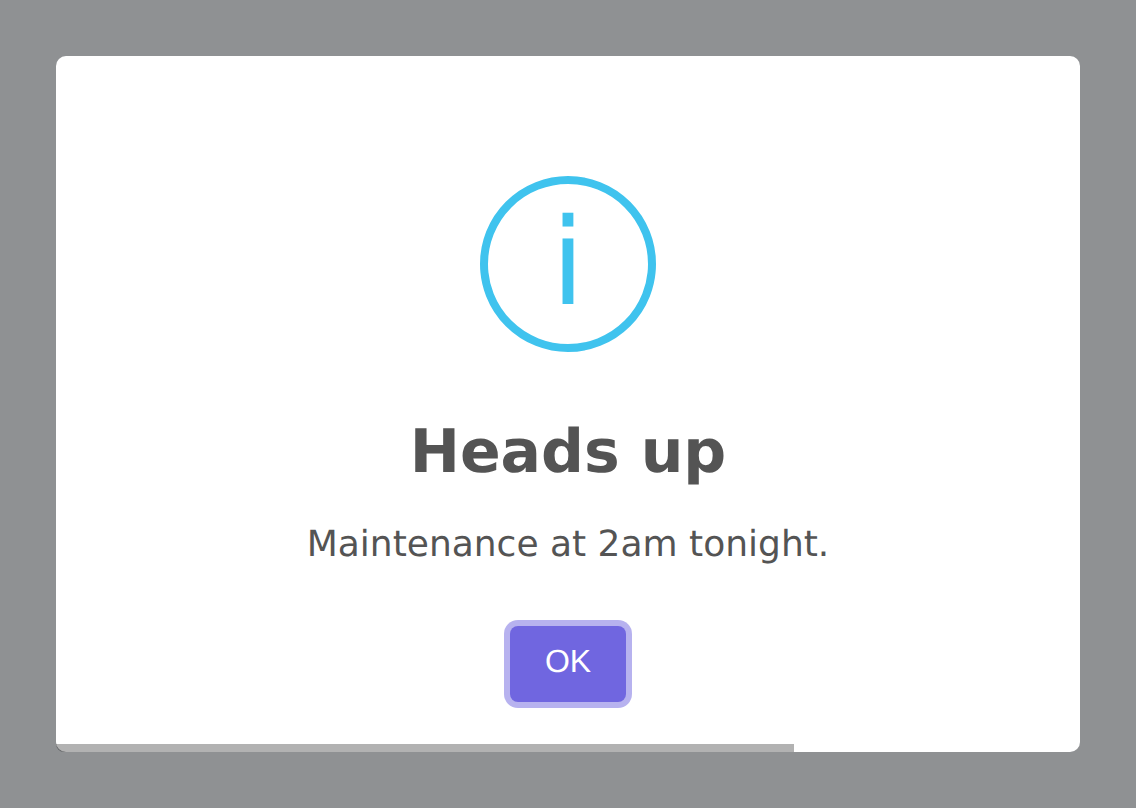 |
Alert::warning('Careful', 'This cannot be undone.') | Alert::info('Heads up', 'Maintenance at 2am tonight.') |
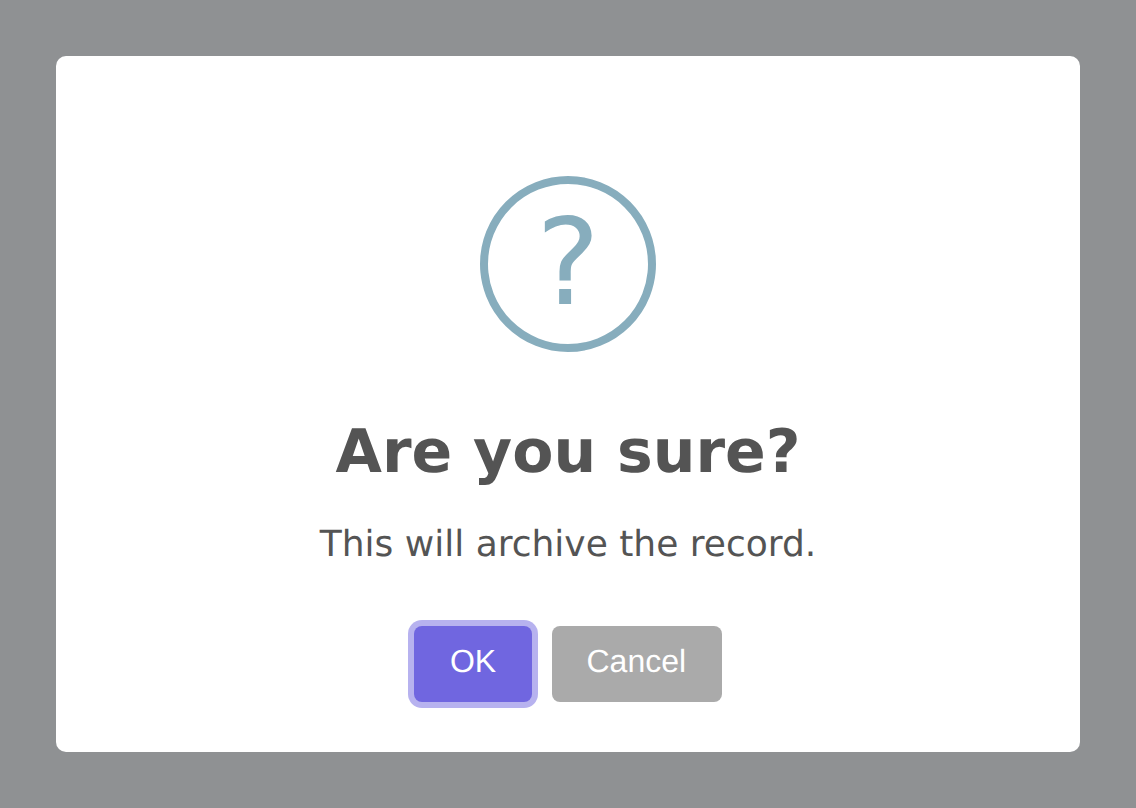
Alert::question('Are you sure?', 'This will archive the record.');Note that question() adds a cancel button, since a question with only one answer is not really a question.
Setting Text Content
Use text() for plain-text descriptions that appear below the title:
Alert::title('Payment Received')
    ->text('Your transaction ID is #12345.')
    ->success()
    ->flash();
HTML Content
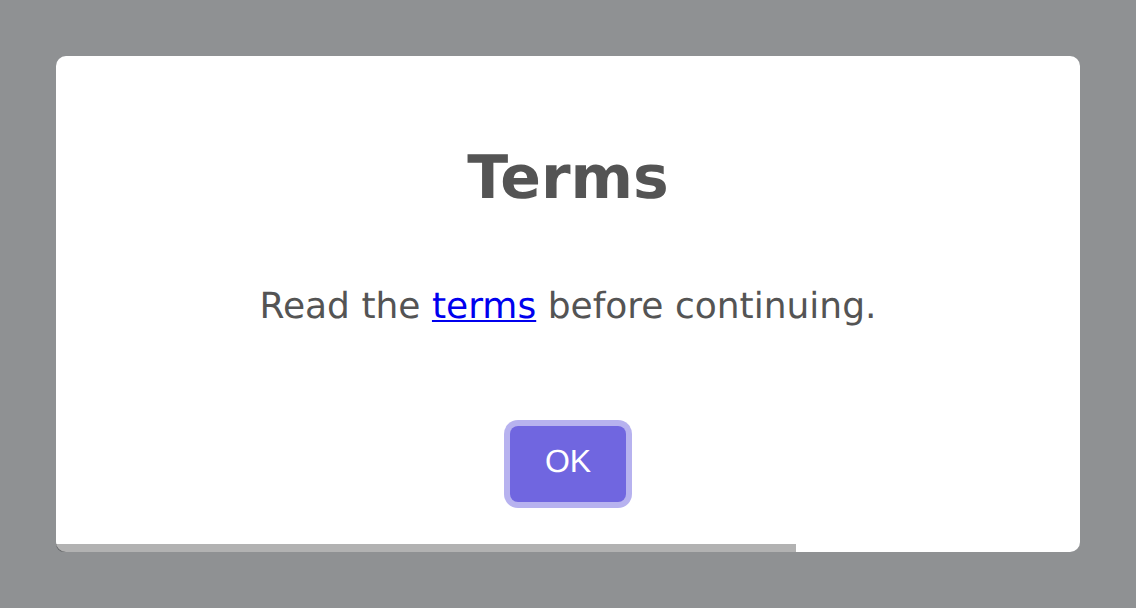
Use html() instead of text() when you need rich formatting — links, bold text, lists, or any valid HTML:
Alert::title('Order Summary')
    ->html('<p>Your order <b>#12345</b> has been shipped.</p><p>Track it <a href="#">here</a>.</p>')
    ->success()
    ->flash();
When you call html(), the text property is automatically removed from the configuration, since SweetAlert2 uses one or the other.
Converting Text to HTML
If you've already set text() and want to switch to HTML mode, use toHtml():
Alert::title('Info')
    ->text('This is plain text')
    ->toHtml()  // Now treated as HTML content
    ->flash();
Blade Views as Content
For complex HTML content, render a Blade view directly into the alert using view():
Alert::title('Invoice')
    ->view('invoices.summary', ['invoice' => $invoice])
    ->success()
    ->flash();
This renders the resources/views/invoices/summary.blade.php view and injects its HTML output into the alert's html property. All Blade features — @foreach, @if, components, and more — work as expected.
The flash() Method
An alert is stored in the session and shown on the next response. Whether you call flash() yourself depends on how you started the chain.
Shortcuts show themselves
The icon shortcuts show an alert on their own, exactly as they always have:
Alert::success('Saved!', 'Your changes have been saved.');

return redirect()->route('posts.index');
That is one line in a controller and nothing else to remember. It applies to success(), error(), warning(), info(), question(), alert(), toast() and confirmDelete().
Carrying on from one of those keeps the alert in step, so this works too:
Alert::success('Saved!')->autoClose(3000);Composed chains wait for you
Start with make() and nothing reaches the session until you say so:
Alert::make()
    ->success('Order placed')
    ->position('top-end')
    ->autoClose(6000)
    ->timerProgressBar()
    ->flash();
Use this when the alert is built up over several lines, or conditionally, and you would rather decide when it is shown.
flash() is always safe
Calling it on an alert that has already flashed overwrites the same session key rather than queuing a second alert. If you are unsure, or you are copying an example, leaving ->flash() on the end does no harm.
What it actually does
flash() serialises the configuration to JSON under the session's alert.config key. On the next response, @sweetAlert reads it and hands it to Swal.fire().
::: important The data is stored in the session flash, so it is available on the next request only. Show the alert before you redirect, not after. :::
Confirm Dialog
The confirm() method creates a two-button dialog that reads its defaults from the sweetalert.confirm config block (question icon, blue confirm button, cancel button shown):
Alert::confirm('Are you sure?', 'This action cannot be undone.')->flash();Override any defaults per-call using the fluent API:
Alert::confirm('Proceed?')
    ->confirmButton('Yes, proceed', '#28a745')
    ->cancelButton('No, go back', '#6c757d')
    ->flash();
confirm vs confirmDelete
Alert::confirm() uses sweetalert.confirm defaults (question icon, blue button). Alert::confirmDelete() uses sweetalert.confirm_delete defaults (warning icon, red button, loader). Use confirmDelete for destructive actions.
Theme
Apply a SweetAlert2 theme to an individual alert without changing the global config:
Alert::title('Dark Alert')
    ->success()
    ->theme('dark')
    ->flash();
Available themes: light, dark, borderless, minimal, material-ui, bootstrap-4, wordpress-admin. The default is controlled by sweetalert.theme in your config (default: light).
Validation Messages
Show a custom validation message below the confirm button using validationMessage(). This is displayed when preConfirm fails (useful in pre-confirm route workflows):
Alert::confirm('Enter your PIN', 'Please enter your 4-digit PIN to continue.')
    ->preConfirmRoute(route('verify-pin'))
    ->validationMessage('Invalid PIN. Please try again.')
    ->flash();
Pre-Deny Route
When using a deny button with server-side confirmation, redirect to a specific route when denied using preDenyRoute():
Alert::title('Review required')
    ->question()
    ->confirmButton('Approve')
    ->denyButton('Reject')
    ->preDenyRoute(route('admin.reviews.reject', ['review' => $review->id]))
    ->flash();
Preset
Apply a named preset from sweetalert.presets in your config to reuse a canned configuration:
// config/sweetalert.php
'presets' => [
    'danger' => [
        'icon' => 'error',
        'confirmButtonColor' => '#d33',
        'timer' => 8000,
    ],
],Alert::title('Something went wrong')
->preset('danger')
->flash();Per-call methods called after preset() will override the preset values.
Complete Example
Here's a comprehensive example showing the full range of alert options:
use RealRashid\SweetAlert\Facades\Alert;
use RealRashid\SweetAlert\Enums\Position;

Alert::title('Profile Updated')
    ->success()
    ->text('Your profile changes have been saved.')
    ->showCloseButton()
    ->confirmButton('Great!', '#28a745')
    ->position(Position::Center)
    ->timer(8000)
    ->timerProgressBar()
    ->footer('<a href="/profile">View your profile</a>')
    ->flash();